Hi folks, In this article You will see everything about Python Anaconda and ways to install Python Anaconda Distribution in the Windows operating system. If you are familiar with Python then definitely you have heard about Python anaconda distribution, if you don’t know about it then don’t worry at the end of this article, you must have knowledge about Python anaconda.
In this article, we will only focus on the introduction of Python anaconda distribution and the installation of Anaconda distribution step by step.
Let’s see some basic definitions before jumping to Anaconda install process so that you can understand Python Anaconda distribution in a better way.
Headings of Contents
- 1 What is Python?
- 2 What is Python Anaconda Distribution?
- 3 Why should we use Python Anaconda instead of Python?
- 4 Anaconda Navigator:
- 5 Why should we use Anaconda Navigator?
- 6 Conda
- 7 Anaconda Cloud
- 8 How to install Python Anaconda Distribution in Windows 11?
- 9 How to Add Anaconda Python Path to Environment Variable
- 10 Conclusion
What is Python?
Python is one of the most popular, open-source, and multi-purpose programming languages that comes with its own package manager called pip. The pip is a command line tool that is used to manage the external packages in Python.
Being a popular programming language, there are millions of external packages written in Python which make tasks in Python much easier.
The pip command by default comes with Python itself, whenever you will install Python on your machine by default you will get the pip command that will use to manage the external packages hosted on the PyPI repository.
Let’s pick a scenario where you are working on a data science project, At that time you will have a requirement of some data science packages like Pandas, Jupyter Notebook, Numpy, and other packages. You will use the pip command to install all of those packages in your Python environment one by one and then you will implement all those packages.
This is how you will use Python and pip commands to perform data science-related tasks. You are installing lots of packages one by one and this is more time-consuming, to overcome this problem Python Anaconda Distribution came into the picture.
What is Python Anaconda Distribution?
Python Anaconda is developed and maintained by Anacond Inc and it was first released in 2012 by Peter Wang and Travis Oliphant.
Python Anaconda is nothing but a distribution of Python, R, and other programming languages. It is a platform for scientific computing ( Data Science, Machine Learning, and large-scale data processing ). Python Anaconda is a completely free and open-source platform for data science lovers.
The main advantage of using Python Anaconda is that It comes with approx 250+ pre-installed packages suitable for Windows, Mac, and Linux operating systems, data science tools and it has its own packager manager called conda similar to Python pip command that is responsible for managing packages.
Why should we use Python Anaconda instead of Python?
Python is a general-purpose programming language that is being used in various kinds of applications and it does not have pre-installed packages. To work with Data science kind of applications you must have to install some external packages that do not come with Python by default, You have to download and install all those required packages using the Python pip command.
But in the Python anaconda, distribution you will get all those packages pre-installed that are required for scientific computing because it is a Python distribution and is created for Machine Learning and Data Science.
Anaconda provides a separate package and environment manage command called conda which you can use to download, install, run, and update the packages that are not available in the conda environment. The conda command is also used to create and manage the separate environment to isolate the multiple versions of packages.
This is why we should use Python Anaconda instead of Python if we are about to work on Machine Learning and Data science kind for projects.
let’s see some main components of Python Anaconda.
Anaconda Navigator is a GUI Application included in Python Anaconda that is used to launch the application, manage the environment, and also manage the packages without using Command Line Interface ( CLI ) commands. It is a very easy-to-use application.
When we will try to download external packages using Anaconda Navigator, Anaconda Navigator will search for that package on the Anaconda Cloud or Anaconda local repository. It is available for Windows, MacOS, and Linux.
In order to run many scientific packages with different versions, Data scientists often use multiple versions of many packages and for that, they use multiple environments in order to isolate package versions.
To manage the packages and environments, Anaconda provides a command called conda that is used to manage the environment and packages.
To manage the packages and environment, You must have knowledge about the conda command but if don’t have knowledge about the conda command then you can manage the packages and environment using the Anaconda Navigator GUI application.
The following applications are available in Anaconda Navigator:
- JupyterLab
- Jupyter Notebook
- Spider IDE
- Glue
- And so many applications.
Conda
Conda is an open-source and package environment management system that is used to manage the environment and run, install, uninstall, and update the packages and their dependencies. It is created for Python programmers.
Anaconda Cloud
Anaconda Cloud is a package management service offered by Anaconda Inc. It is used to find, access, and store, private and public notebooks along with conda and PyPI packages. It hosts various Python packages for a variety of applications.
Now it’s time to see the process of installation of the Anaconda in the window machine.
How to install Python Anaconda Distribution in Windows 11?
Follow the given steps to install Python Anaconda Distribution in Windows 11. The process of installation will be the same in other Windows versions like 10, 8, etc.
- Click this link to visit the download page of Python Anaconda.
- Click on the Window Download button.

- Now downloading will be started, It might take some time because the size of the installer is approx 700+ MB.
- After downloading the Python Anaconda installer, right-click on it and click on Run as administrator.
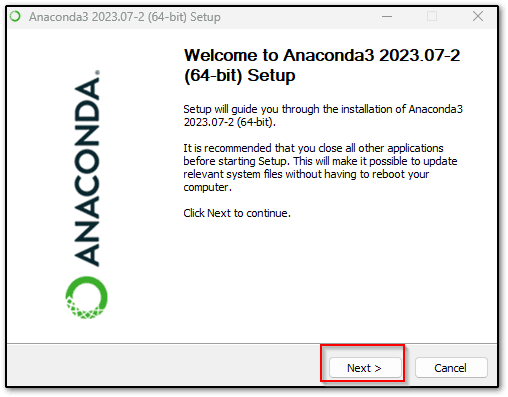
- Click on Next.
- Accept the Terms and Conditions by clicking on the I Agree button.

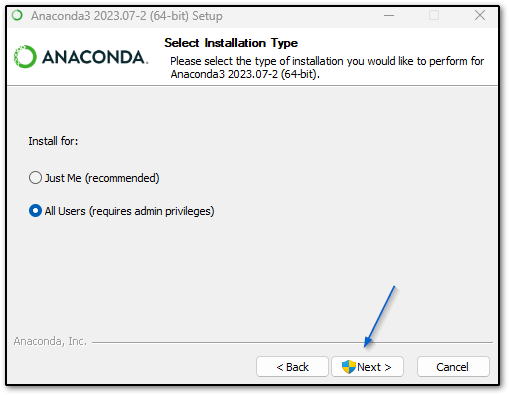
- Choose all users and click on Next. You can also choose Just Me from the above option.
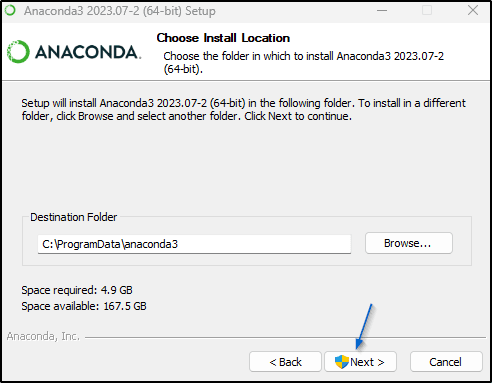
- Now, You have to choose the installation location of Anaconda, I will go with the default location and click on Next.
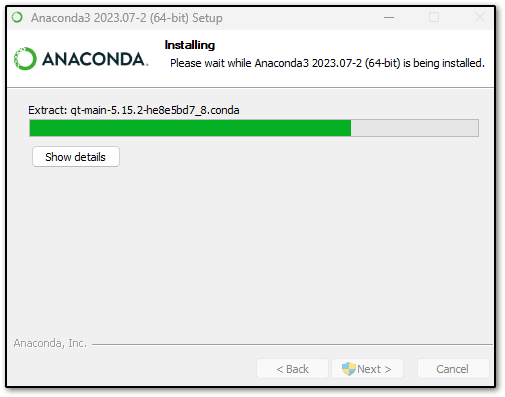
- Click on Install.

- Now, Wait for some time because It will take some time to install.
- After installation is completed, click on the Next button.
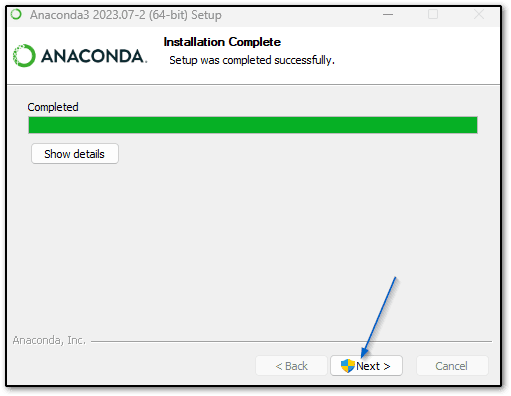
- Again click on Next.

Now that you have successfully installed Python Anaconda Distribution on your Windows machine, you can use Python Anaconda.
To check whether Anaconda is installed or not, search the Anaconda navigator in the search bar and click on the Anaconda navigator app.
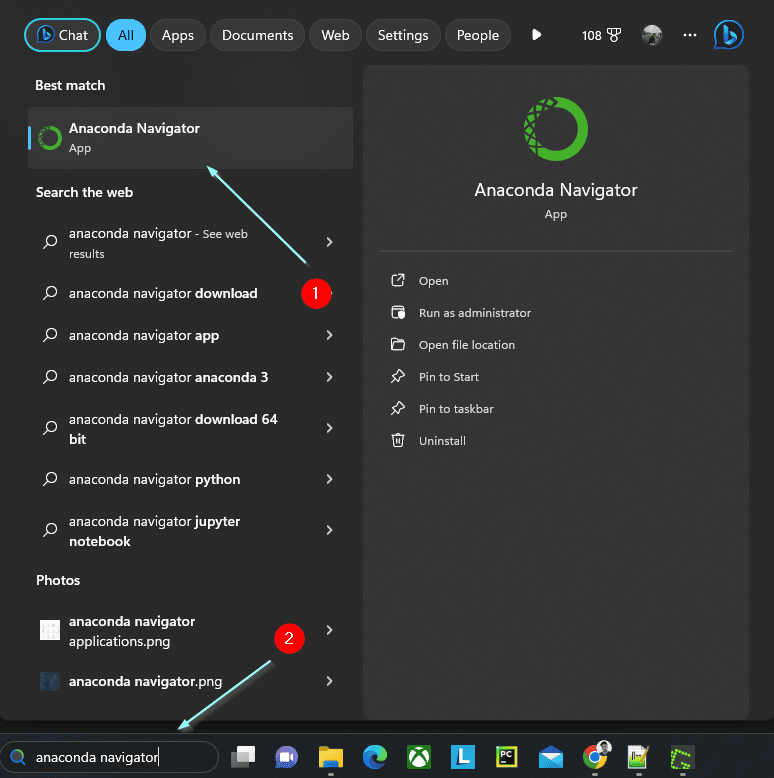
The Anaconda Navigator GUI application will look like this. If you are seeing this on your Windows machine that means you have successfully installed Anaconda in your machine.

So this is how we can install Python Anaconda in Windows, Being a popular Data science distribution, Anaconda also allows us to interact with the command line. To interact with the command line we have to add anaconda path to our window environment variables.
Let’s see how we can add the Anaconda path to window environment variables.
How to Add Anaconda Python Path to Environment Variable
You can follow the below steps in order to add an anaconda path to the window environment variable.
- To get all the Anaconda paths search for Anaconda Prompt in winbdow search bar.
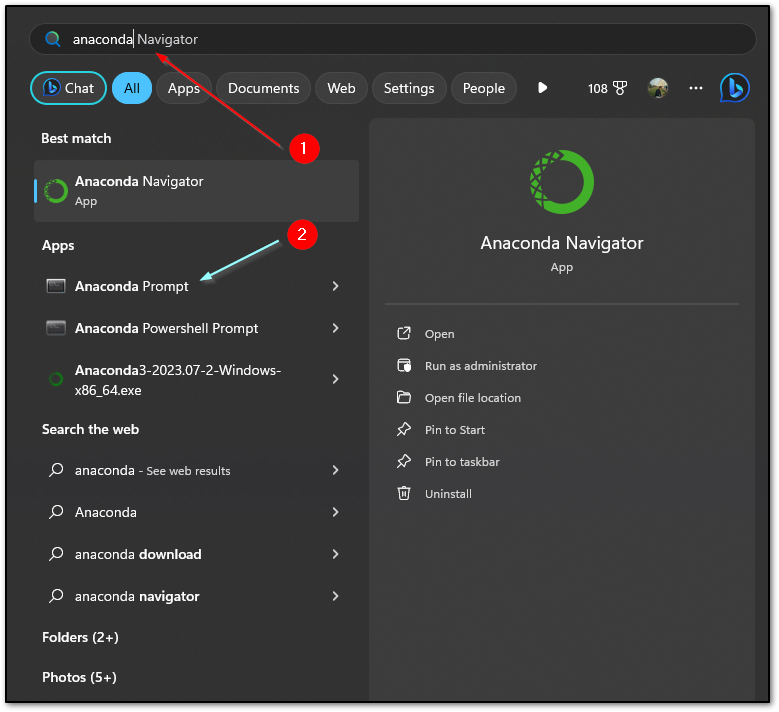
- The type where conda to list all Anacond paths, As you can see below.

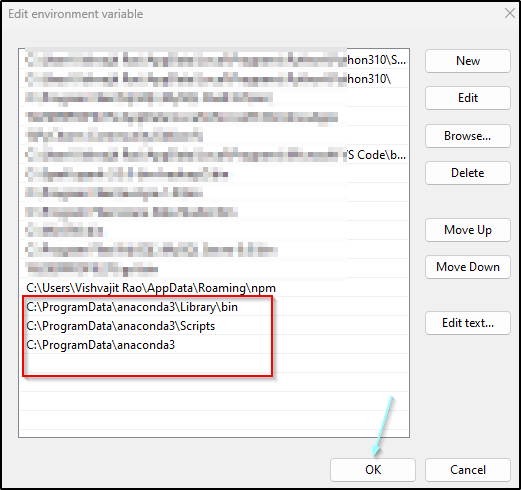
- Copy all the paths and remove some content from the end of these paths, You can see all the paths in my case.
C:\ProgramData\anaconda3\Library\bin
C:\ProgramData\anaconda3\Scripts
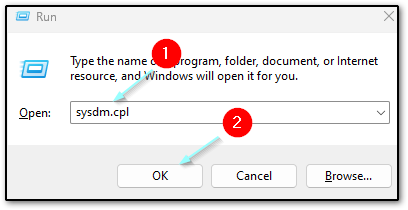
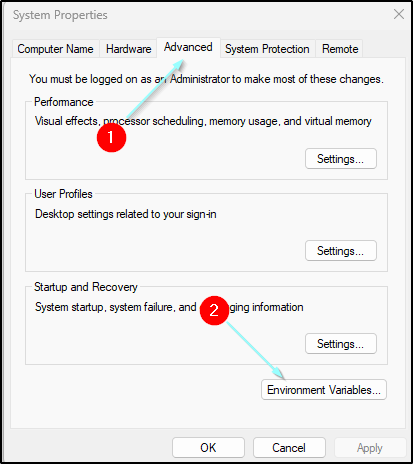
C:\ProgramData\anaconda3- Press Window + R in your machine and then type sysdm.cpl and click on OK.
- Click on Environment Variables under Advanced Settings.
- Choose the Path variable and click on Edit.

- Click on New and add all Anaconda Paths and then click on OK until last OK.
- To check whether the path was added or not, again press Window logo + R and then type cmd and click on OK.
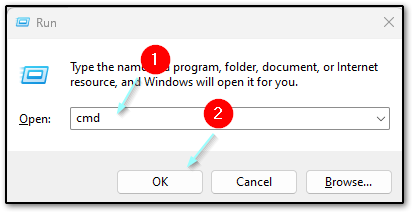
- Type conda -V to see the version of conda.If you are seeing the Conda version like below that means you have successfully added the anaconda path to your window environment variables.
Note:- Conda version might be different in your case.

Now, you can also interact with Python Anaconda with CLI ( Command Line Interface ).
Conclusion
So in this article, we have seen all about the installation of the Python anaconda distribution in the Windows operating system. Python Anacona is one of the most popular distributions for Data lovers because it encapsulates 250+ scientific packages and applications like Spider, Jupyterlab, Jupyter Notebook, etc. in one distribution or single bundle.
If you are Data data-enthusiastic, Then definitely you should try Python Anaconda. In later tutorials, we are about to explore more about Python anaconda with the help of examples.
If you like this article, pls share and keep visiting for further articles.
Happy Coding