
In this article, you will see How to install pgAdmin 4 in Windows operating system so that, you are able to interact with your Postgres database using the pgAdmin 4 GUI ( Graphical User Interface ) application. You can follow our PostgreSQL tutorials where we have seen all about PostgreSQL and its command along with examples.
Headings of Contents
Introduction of pgAdmin 4
pgAdmin 4 is one of the most popular open-source administration and development platforms for PostgreSQL.pgAdmin 4 provides a user-friendly user interface where we can manage our PostgreSQL database. We can perform all the activities using the pgAdmin application which we are performing on psql shell.
Features of pgAdmin 4
pgAdmin comes with lots of features that made it popular and attractive. Let’s see all the features one by one.
- pgAdmin 4 is available for all windows, macOS, and Linux.
- Designed for multiple PostgreSQL versions and derivatives.
- Powerful query tool with color syntax highlighting.
- Fast Datagrid for display/entry of data.
- ERD ( Entity-Relationship Diagram ) tool for designing and documenting schemas.
- Schema diff tool for demonstrating between schemas.
- Graphical query plan display.
- Auto vacuum management.
- Monitoring dashboard.
- Backup, restore, vacuum, and analyze on-demand.
Apart from these features, there are also multiple features available inside the pgAdmin tool, which you can check out here.
How to install pgAdmin 4 in Windows
We will break this process into two parts first is downloading pgAdmin 4 latest version and the second is the installation of pgAdmin 4. If you have already downloaded then you can go with the second part.
Download pgAdmin 4
- Click here to visit pgAdmin 4 windows download page.
- Click on the latest version of pgAdmin 4. During writing this article latest version is pgAdmin 4 v6.4

- Click on pgAdmin exe link to download pgAdmin 4 execute application.

Installation of pgAdmin 4
- Click on the downloaded pgAdmin 4 executable file and choose to install for all the users.

- Click next.
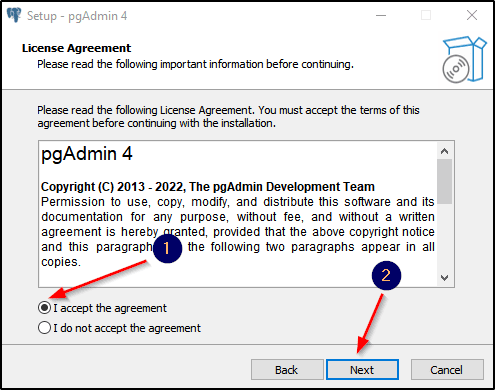
- Choose I accept the agreement and click on the next button.
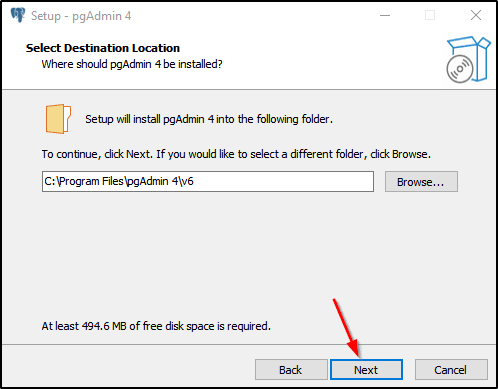
- Here you can choose the destination location where you want to install pgAdmin 4 other you can avoid it and then click on the Next button.
- Click Next.If you don’t want to create program’s shortcut other you can choose folder.
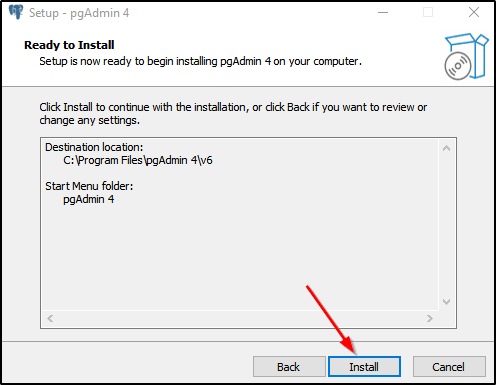
- Click on the Install button.
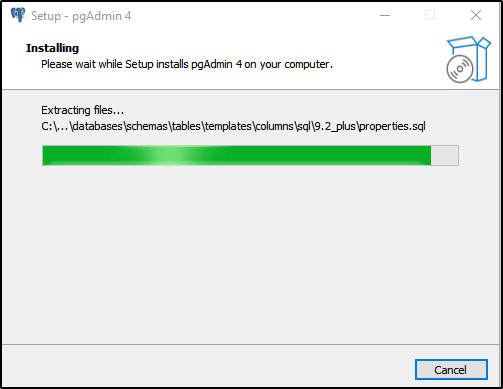
- Now pgAdmin will take a little bit of time to install, After installation completed click on Finish button.
Conclusion
So, in this guide, we have seen all about how to install pgAdmin 4 in windows machine with the help of proper screenshots. Now you are able to work with pgAdmin 4 application.pgAdmin 4 is one of the best tools for database administrators who specially work with PostgreSQL database servers because it provides approx all the features within a single application.
I hope this article is helpful for you, if you like this article, please share and keep visiting for further PostgreSQL tutorials.
Thanks for your valuable time 👏👏